


How to Make Homemade Dried Fruit in a Dehydrator: Easy, Healthy Snack Recipe
| | 5 min read
Why You’ll Love Homemade Dried Fruit
Last summer, my family and I piled into the minivan for a long-awaited vacation—windows down, sunroof open, and two restless kids in the backseat. You know the scene: snack bags rustling, wrappers flying, and every neon-colored gummy or fruit leather coated in enough chemicals and dyes to make a rainbow jealous. As a parent, I craved real food—no sneaky artificial preservatives or sticky sweetness that spikes blood sugar. That’s when I had my epiphany: why not whip up our own healthy, all-natural dried fruit?
When the kids bit into my homemade apple “chips,” their eyes lit up—they thought they were munching candy. Meanwhile, I knew they were getting nothing but pure, fiber-packed fruit (with a splash of lemon juice at most). Talk about a win–win!
Essential Ingredients & Equipment for Dehydrating Fruit
-
2–3 lb fresh fruit (apples, pears, mangoes, bananas, peaches—you pick!)
- Optional anti-browning soak: 1 cup water + 2 Tbsp fresh lemon juice
You’ll also need:
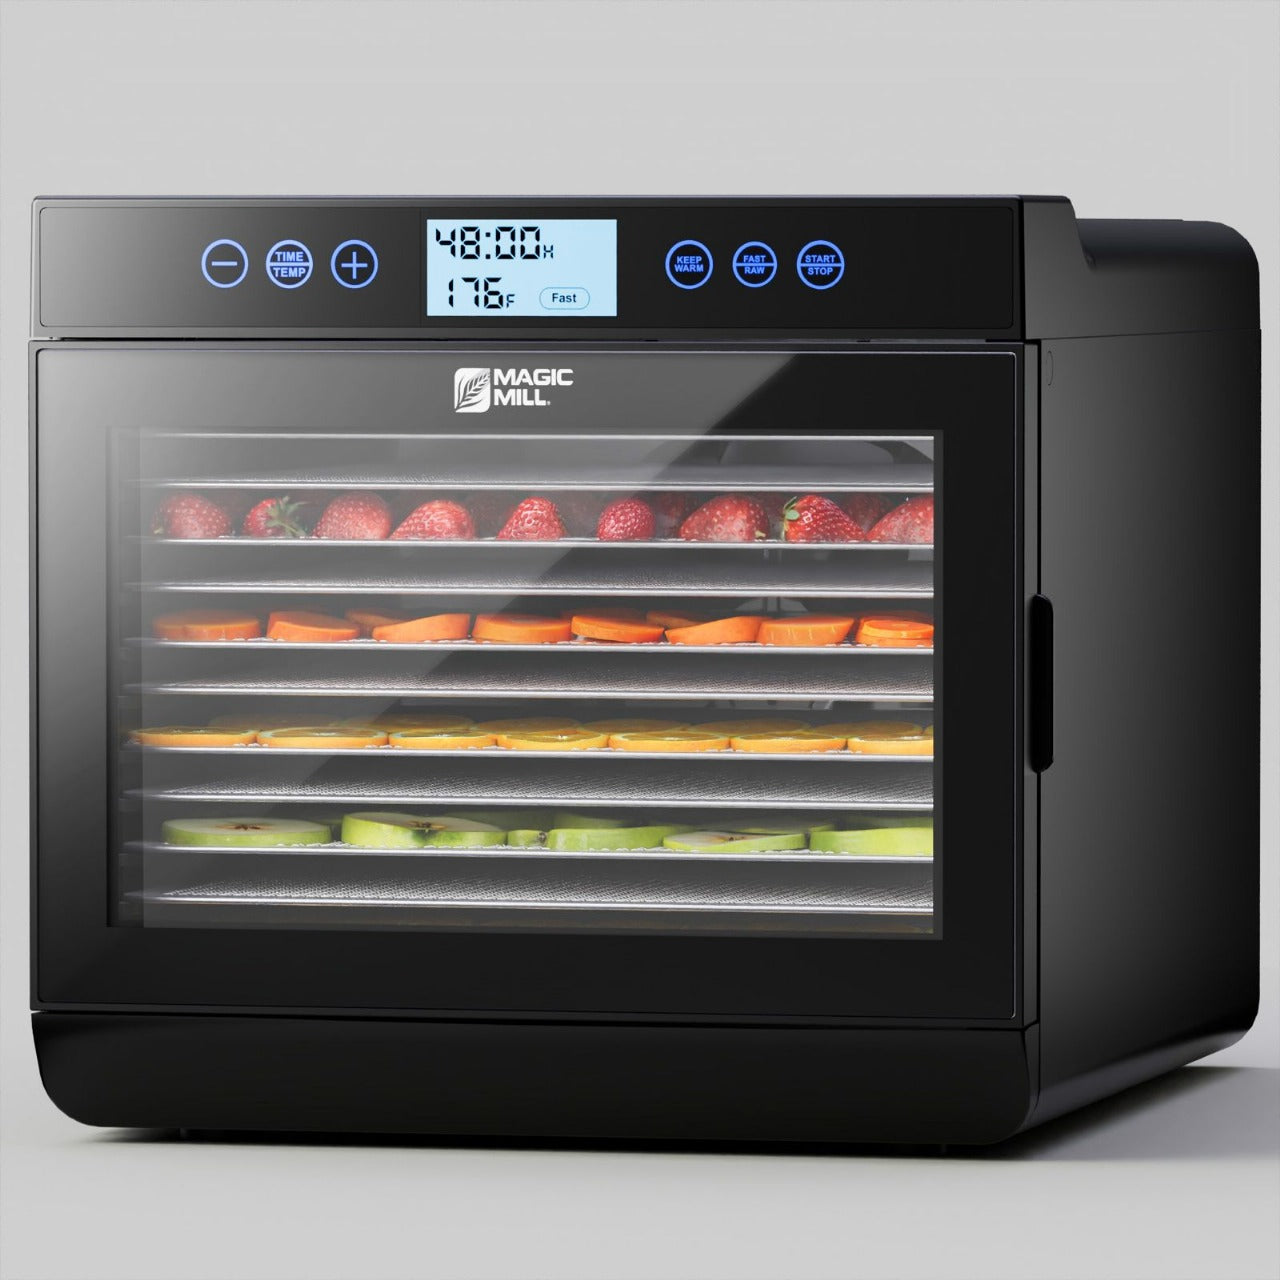
- A reliable food dehydrator (I swear by my Magic Mill 10-Tray Food Dehydrator for even drying and big batches)
- Sharp knife or mandoline slicer
- Large bowl (for that lemon bath)
- Airtight containers or resealable bags
Step-by-Step Guide to Slicing & Prepping Your Fruit
-
Wash & dry each fruit under cold running water.
-
Peel if you prefer (mangoes, apples) or leave skins on for bonus fiber.
-
Core or pit as needed (peaches, pears).
- Slice into ⅛–¼ inch rounds or strips—uniform thickness ensures they all dry at the same pace.
💡 Whimsy moment: Picture each slice as a little sunbeam you’re capturing for later snacking!
Anti-Browning Tips for Bright, Fresh-Looking Slices
- In a large bowl, whisk together 1 cup water + 2 Tbsp lemon juice.
-
Soak apple or pear slices for 5 minutes.
- Drain and pat dry—bright, fresh-looking fruit every time.
Dehydrator Settings: Temperature & Drying Times
-
Temperature: 125 °F (52 °C)
-
Approximate drying times:
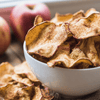
- Apples/Pears: 6–8 hrs
- Bananas: 6–10 hrs
- Mangoes: 8–12 hrs
- Peaches/Nectarines: 8–10 hrs
🔄 Pro tip: Rotate trays every 2–3 hrs if your dehydrator heats unevenly.
Rotating, Flipping & Checking for Perfect Texture
- Every few hours, swap top and bottom trays for consistent airflow.
- Flip especially thick pieces halfway through to avoid chewy centers.
- Finished fruit should be leather-like and pliable, not sticky or moist.
Conditioning & Storing Your Dried Fruit Safely
- Let fruit cool on trays for 30 minutes.
-
Condition by loosely storing all pieces in a glass jar for 48 hrs—shake once a day.
- Transfer fully dried fruit into airtight containers. Store in a cool, dark place for up to 6 months.
Nutrition Facts & Portion Recommendations
| Calories | Total Fat | Carbs | Fiber | Sugars | Protein |
|---|---|---|---|---|---|
| 80 kcal | 0.2 g | 21 g | 3 g | 16 g | 0.3 g |
Note: Values are for a 1 oz (28 g) serving of dried apple. Your numbers will vary by fruit type, slice thickness, and any pre-treatments used.
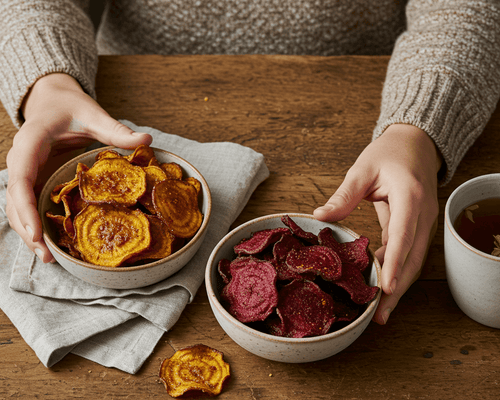
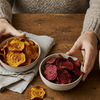
Creative Flavor Variations for Kids and Adults
-
Cinnamon-Sugar Dust: Toss apple slices in 1 tsp cinnamon + 1 Tbsp sugar before drying.
-
Herbal Infusion: Sprinkle pear or peach slices with a pinch of dried mint or rosemary.
- Honey-Lime Glaze: Brush mango slices with 1 Tbsp honey + 1 tsp lime juice for a tropical twist.
✨ Fun idea: Layer different fruits for a rainbow snack jar—strawberries, kiwi, and pineapple all vying for your taste buds!
Health Benefits of DIY Dried Fruit vs. Store-Bought
-
Kids love the chewy, candy-like texture—without the junk.
-
Adults enjoy a fiber-rich, nutrient-dense boost to oatmeal, salads, or trail mixes.
- All ages benefit from a naturally gluten- and dairy-free snack—just watch portions (dried fruit is calorie-dense).
Making your own means you control exactly what goes in—no hidden dyes, preservatives, or high-fructose corn syrup.
Why the Magic Mill Dehydrator Is Your Best Snack-Making Companion
Trust me, once you taste that first batch of homemade dried fruit—sunshine-sweet, chewy, and pure—you’ll never go back to store-bought. If you’re serious about snack time (or gifting jars of healthy goodness), I wholeheartedly recommend the Magic Mill 10-Tray Food Dehydrator. It’s my secret weapon for batch-making perfection—every slice, every time.
Happy dehydrating!


Leave a comment